
Shot on Canon G1X
Shot on Canon G1X
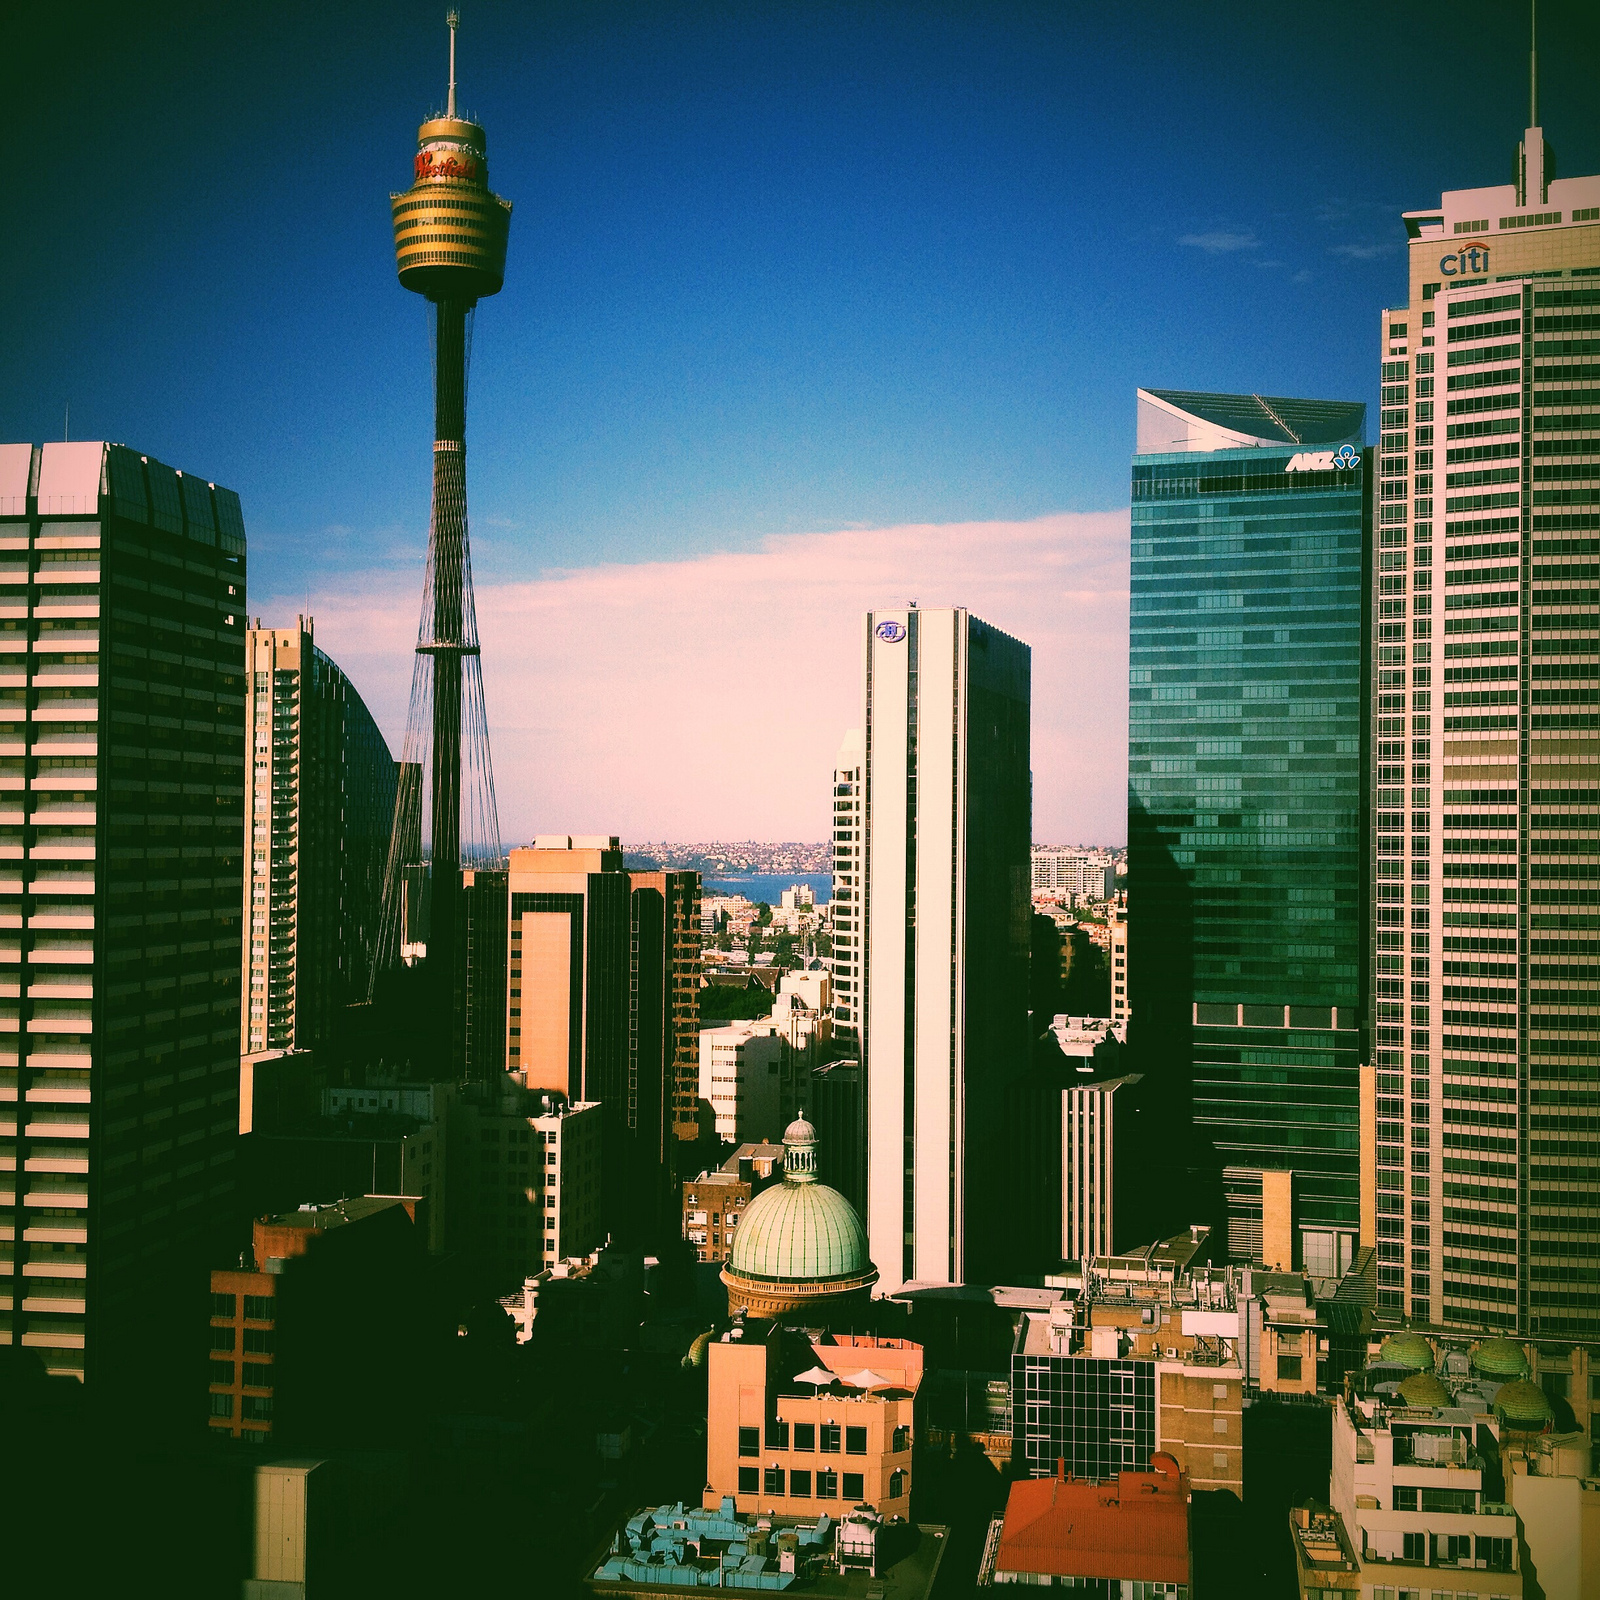
Spent two days at Adobe Head Office earlier in the week. Amongst doing some hands on work with an inspiring group of people I got to catch the view on a couple of occasions. Shot with a 4S running IOS7.

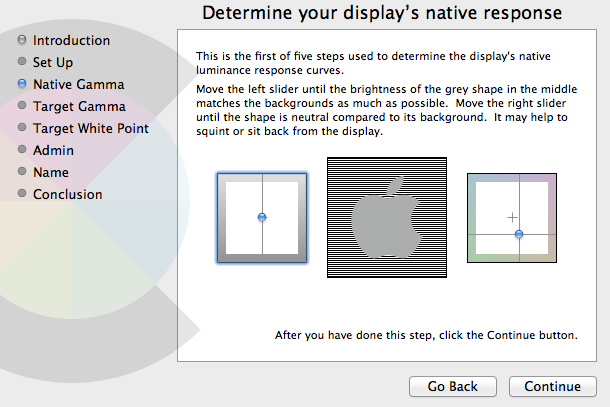
Getting the story right with colour calibration and profiling on iMac and MacBook Pro screens is not a simple task. As I’ve discovered the work-flow is let down by the inability of the user to adjust the iMac or Mac Book monitors RGB balance. Mac only offers options to adjust Native Gamma, Target Gamma and Target White Point.
All this first came to a head after purchasing DataColour’s Spyder 4 Pro and noticing that after calibration/profiling, despite the significant improvement, my iMac monitor still had a distinct green cast when looking at both colour and or black and white images and that my MacBook had a distinct blue cast. I started asking some questions.

Visibly evident green and blue cast after Spyder 4 Pro/ Dataclour calibration.
A friend of mine recently put me onto DispcalGUI, which is open source. DispcalGUI provides customizable settings for “whitepoint, luminance, black level, tone response curve as well as options to create matrix and look-up-table ICC profiles, with optional gamut mapping” as well as providing a very extensive array of colour patches.
Running the first calibrations using DispcalGUI on the iMac and MacBook made it obvious that I was out on a ledge in terms of getting the best response curves because the initial white point and RGB measurements revealed things like this…

You can see on the iMac that blue and red are under whilst green is significantly over in the balance. Unfortunately on Mac systems there appears to be no way to adjust the RGB gain controls manually or via 3rd party software. Even Argyll CMS, which runs fine under Windows was not able to talk to Mac.
After running a second calibration and profile using DispcalGUI on the MacBook you can see a more neutral response to to the black and white image below. However it’s not perfect and still tends to be a little on the blue side which was shown as still being off target in the ‘Interactive Dispay Adjustment” panel prior to the Calibration. I was able to get above 100% of sRGB but only 75-78% of RGB.

Running Colour Eyes Display Pro (fully functional trial) did little to alleviate the cast and the software began to glitch quite badly after the first two runs. I understood that it should be able to talk to and adjust the RGB settings for Mac monitors. But there was little to see that supported that and measuring RGB using DispcalGUI afterwards indicated little change.
Colour Munki looks like the next stop.
Another recent ‘clean’ shot from a recently rewired and repaired Nikon D600.

Recent shot from resurrected Nikon D600.

This has to be one of the most gorgeous time-lapse productions based around the theme of the Australian urban and natural landscapes.
1080p full screen is the best way to watch this, either here, or over at Vimeo.
You can read the full production notes here
After recently updating the 645 Pro app on my phone to the MkII version I had a chance to put it through it’s paces while I was over at St Leonards in Nth Sydney recently.
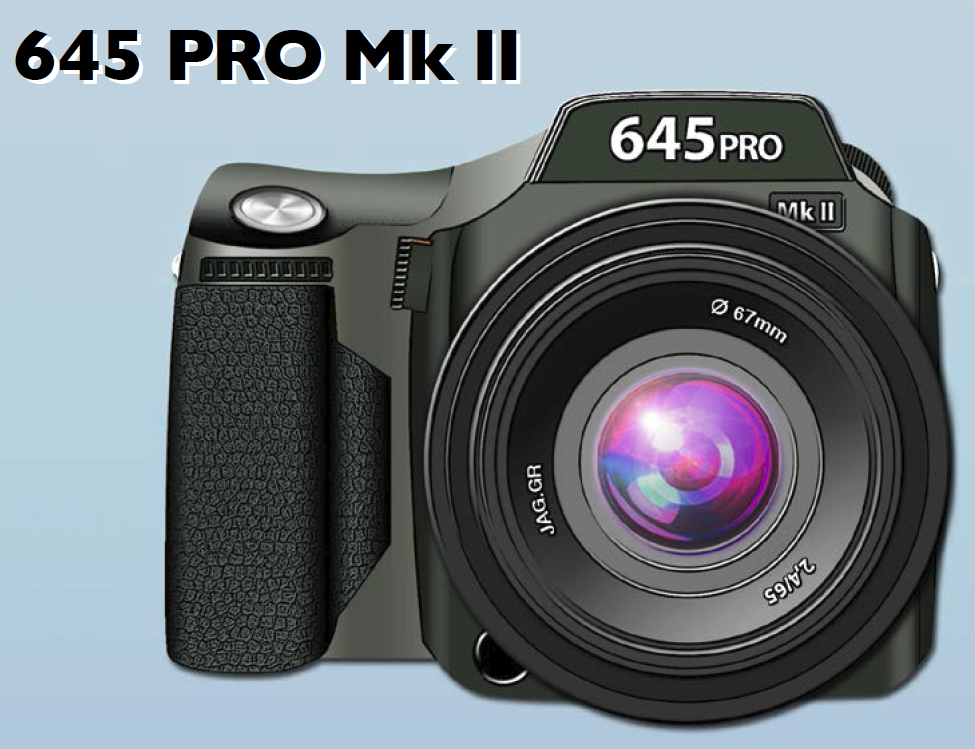
This morning jag.gr (makers of 6×6, 6×7, Pure Shot and Field Cam) released the most significant update to it’s flagship 645 Pro camera app. As a long time user of the app I found that the update made the whole 645 Pro experience so much more user friendly. The interface has had a complete re-design and is simply more intuitive and pleasurable to use. Many of the standard features are still there (exposure lock, focus lock, white balance lock),

whilst the re-designed Back Selector, Film Mode Selector and Photo Filter Selector
open up flow style interfaces that make the selection of options for these functions a breeze.


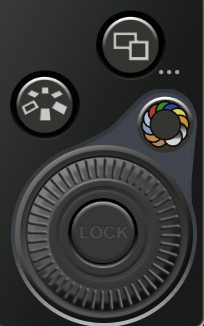
If the previous model had options for selecting filters I was never able to find it. But with the MkII a great range of filters are available along with an incremental adjustment wheel (lower right) which allows you to set a percentage level for the filter strength. This makes working, particularly in Black and White, a rewarding experience. The addition of graduated neutral density filters is also a great plus for landscape work in either colour or black and white.

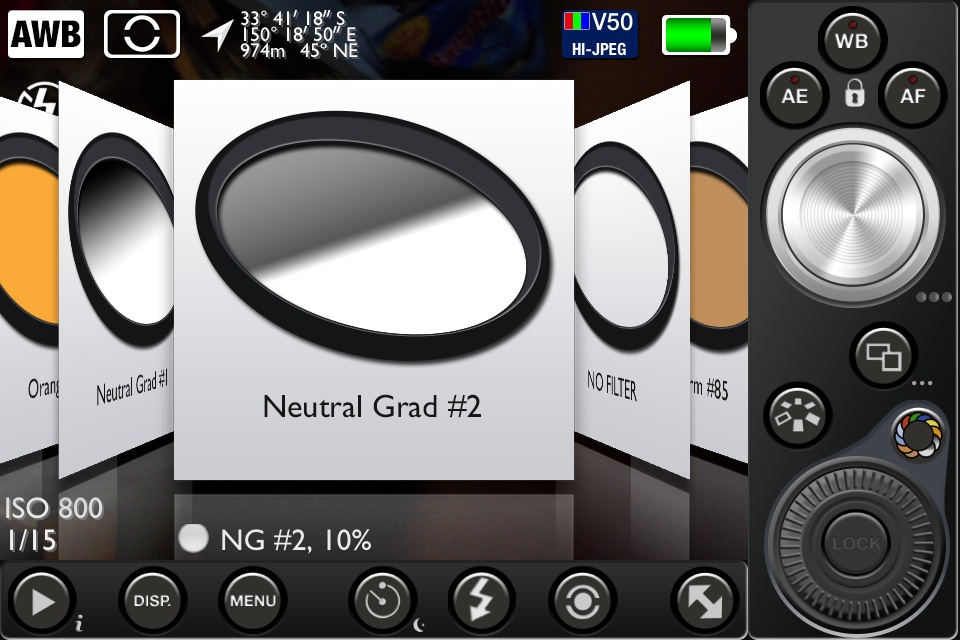

Full GPS data, ISO, shutter speed, camera battery level, file compression and film type are viewable in the standard workspace.
The full set of features along with a down-loadable pdf manual can be found over at jag.gr
If you haven’t used this app yet all I can say is that you are missing out.
No replacement, but back in my hands once again with a next generation CM5 shutter unit under the bonnet and a clean slate on the sensor. Nikon, now it seems, have an effective fix for the dust and oil blues afflicting the early release D600’s.
However, after booting up I discovered that the info data is barely visible in the viewfinder and despite adjusting the diopter through it’s full range I’m able to do little more than bring up a pale blurry green line of what should be EV, ISO, Shutter and Aperture info. It was fine before I took it in. Currently the only way I can access camera info etc is through live view. Oh well at least I know my way to the service department at Rhodes like the back of my hand and by the time I got there the data reading ( EV, ISO, Shutter, Aperture etc) in the viewfinder was completely dead.
Update on current status.
I dropped my D600 into Nikon Sydney today to get it checked out for the third time after a new round of contamination appeared on the sensor. I had pretty much given up on Harvey Norman doing the right thing in terms of replacing the camera or camera body point blank or if not in a way that required me turning myself into a human pretzel to meet the requirements and; I’m kinda tired of rolling that story out Ad nauseam. However, today the clouds rolled back, and it looks like there is a good possibility that Nikon Sydney will replace the camera body. I take the quality of service at Nikon Sydney as a given but this extra step took me by surprise and certainly cemented my belief that Nikon Sydney take the integrity of their customer service seriously.
If the worst of the waiting is over, then I’m a mightily relieved man and I can get back to the business of doing the work that the D600 was designed to do.
Upon reflection, it’s been a valuable learning experience. I realized that whilst my first post was a little acerbic and I was responding to a disagreeable sense of disappointment it’s been worth it to hold on and not abandon ship. My first shots with the D600 proved to me first up that it’s is a worthy contender. However further testing did two things, it opened me up to the full capability of the camera and it revealed my particular D600’s only flaw.
So now it’s just wait and see how NIkon call the next shot. I’ve grown to have a deep sense of appreciation for the D600’s capability and I’ll be more that happy to have a replacement back in my hands sooner than later.
