With the release of Photoshop Touch for iPhone Adobe have given iPonographers a long sought after addition to the suite of apps available for image editing on Apple’s iPhone. A brief, but quick run through with Touch on my phone revealed pretty much the full compliment of core functionality available for IOS on the iPad along with some extra goddies. You can edit images up to 12mb and Touch has a 400% zoom capability for getting up close.
Here are some screen shots of the little beast at work.
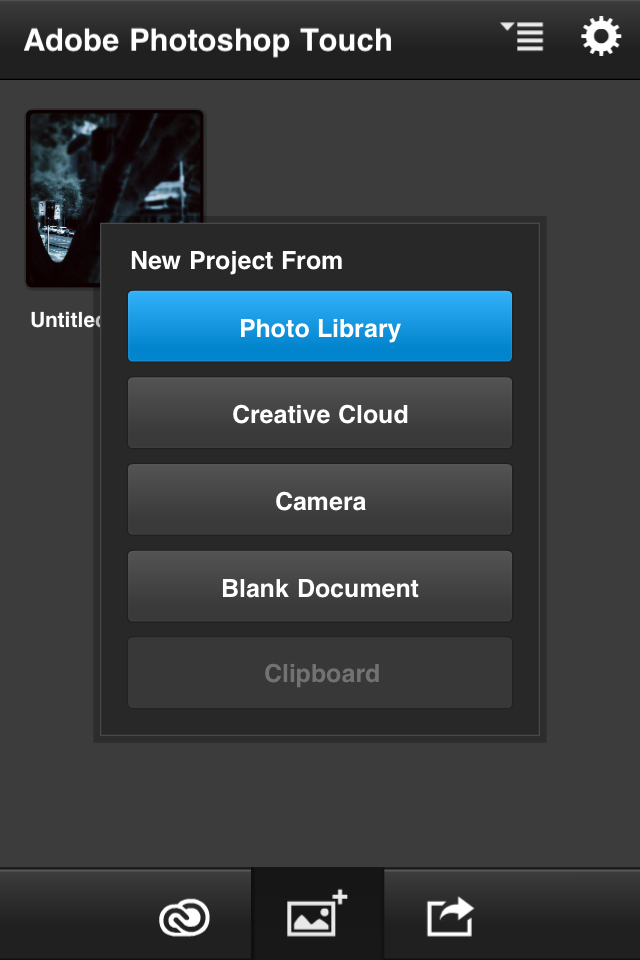
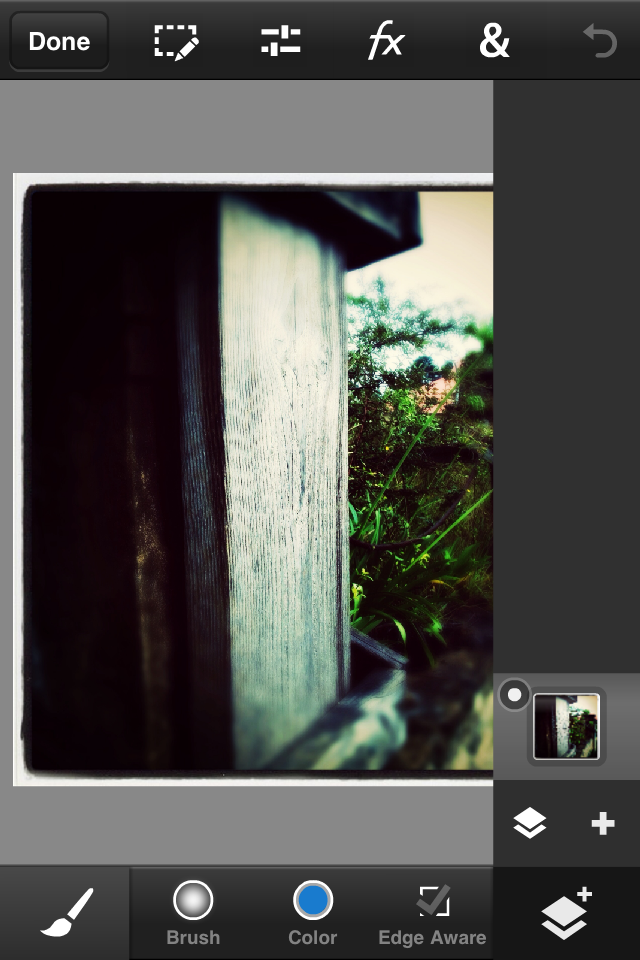
Kicking off a project is simple. Just choose your source image and go.
With the source file loaded you are ready to go.
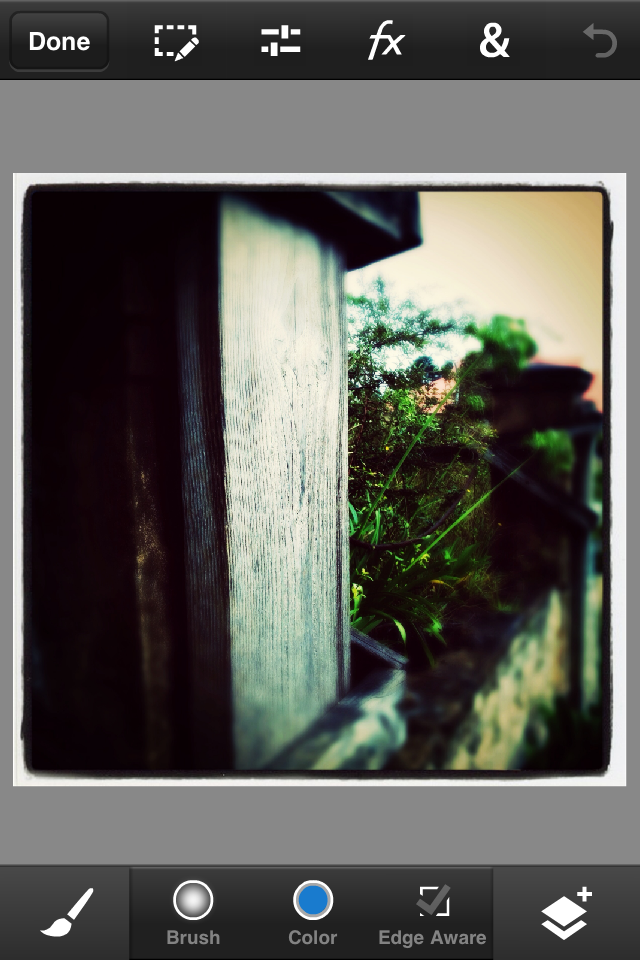
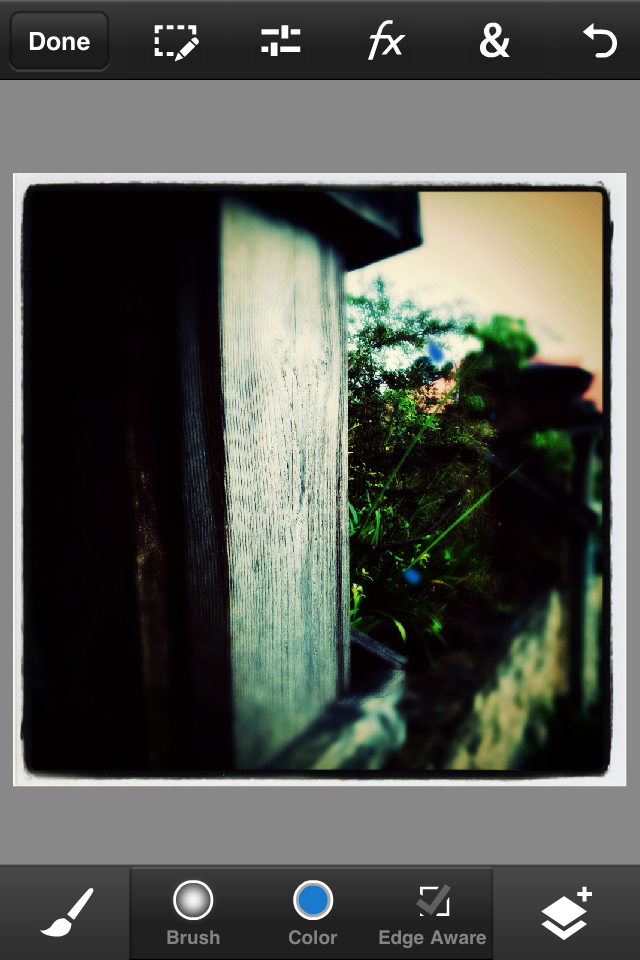
All the key functions are nested across the top panel.
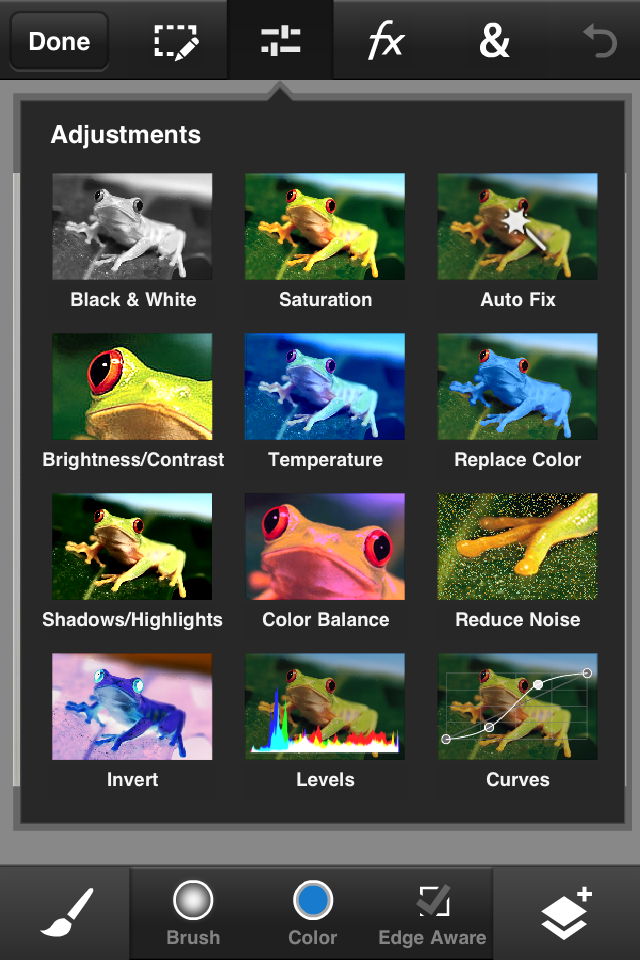
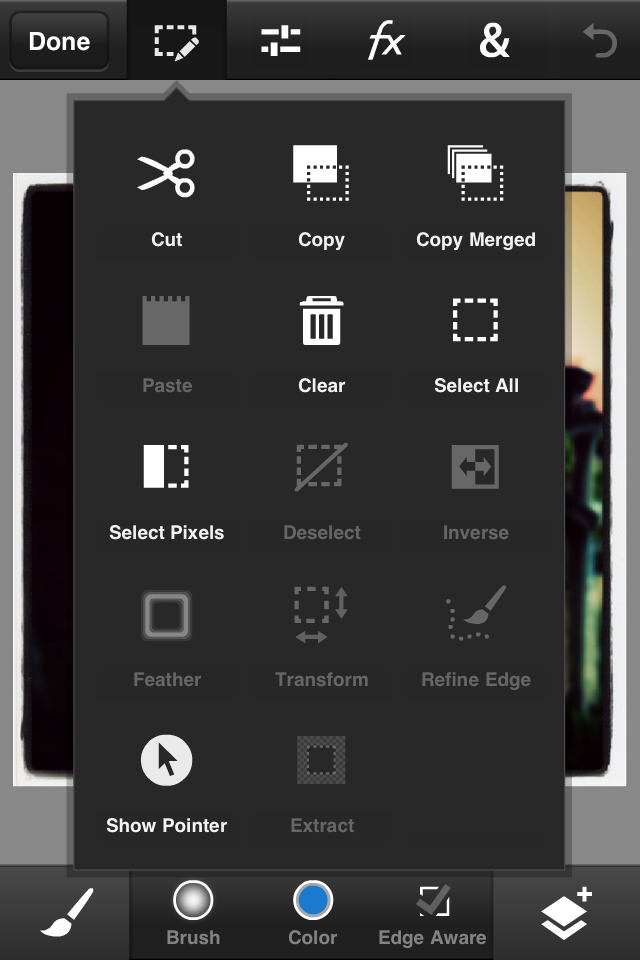
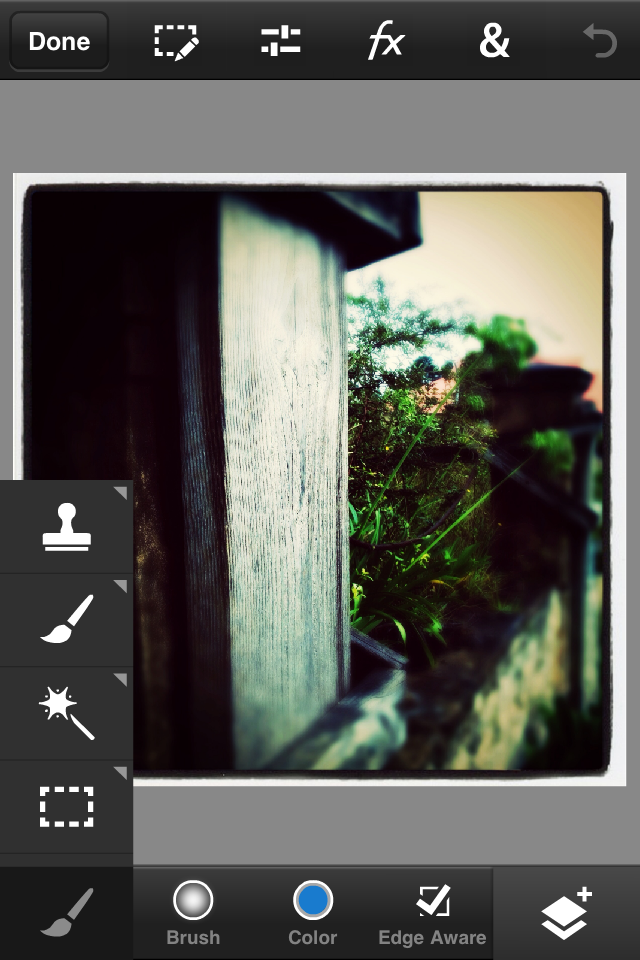
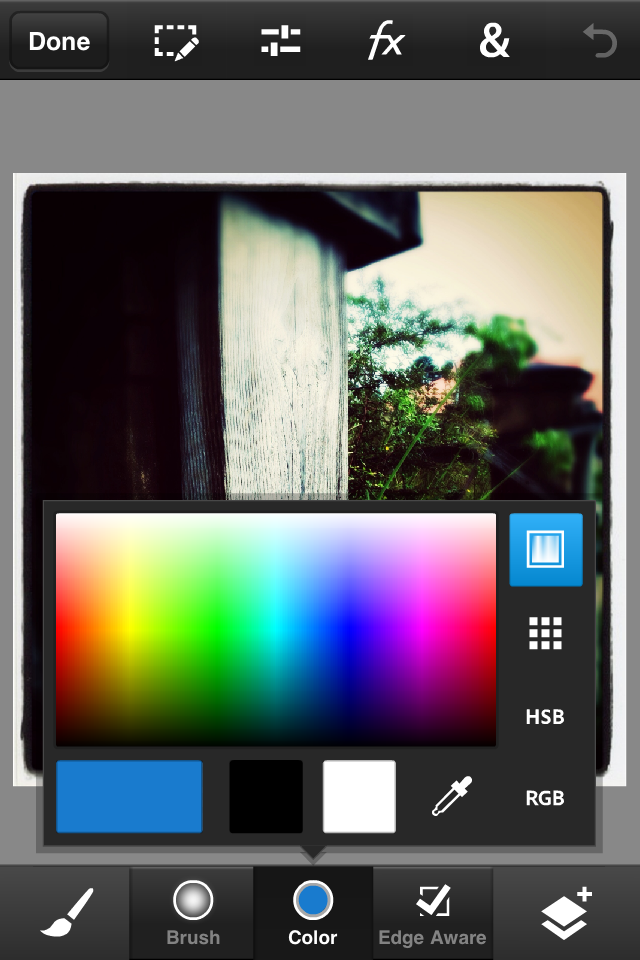
Across the bottom you’ll find pop up panels that give access to and options for brushes, selections, cloning etc.
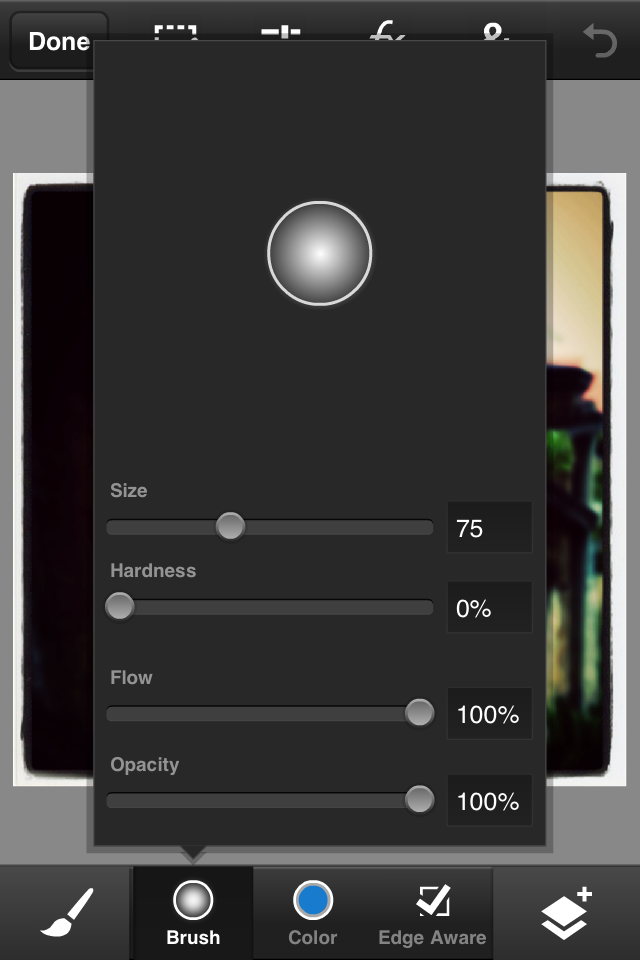
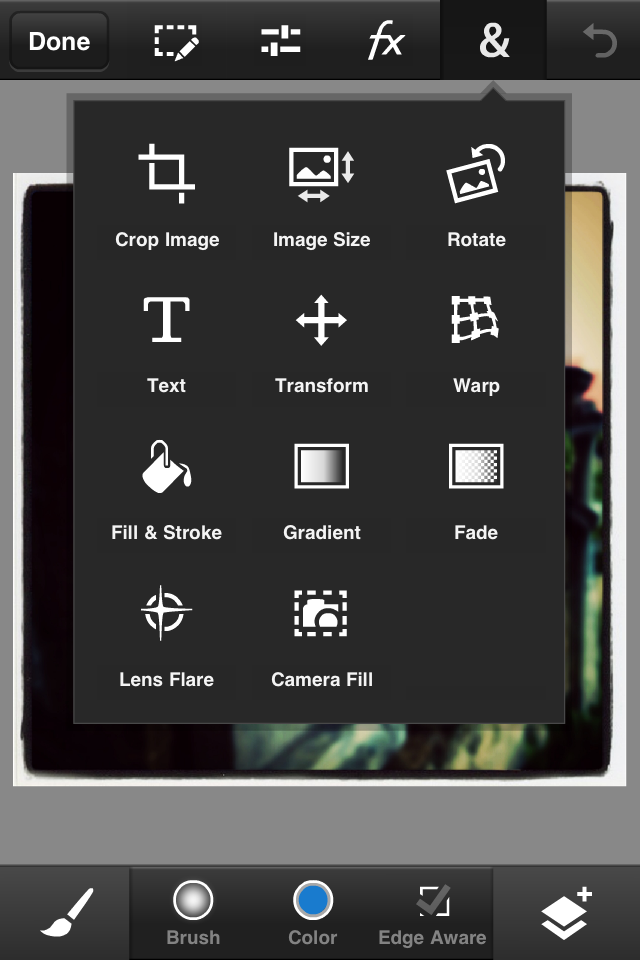
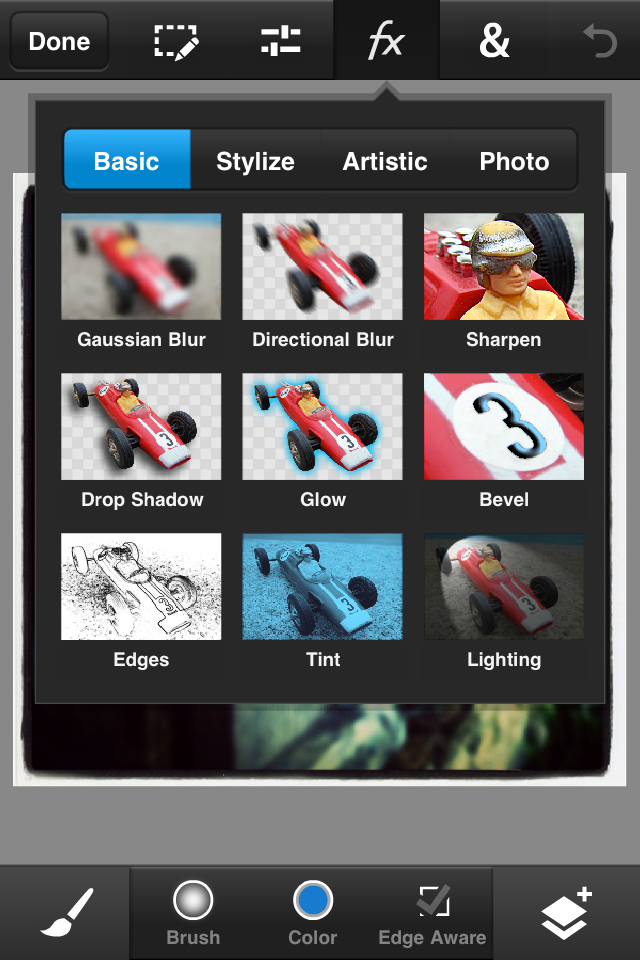
There is also a small check-box to activate ‘Edge Aware’ and you would use this when combining images together using the Scribble Selection tool, to then refine your selection with the Refine Edge tool. Making adjustments to images is a fairly intuitive process. In the series below I’ve just added some simple levels adjustments across the full spectrum and then colour channels individually.
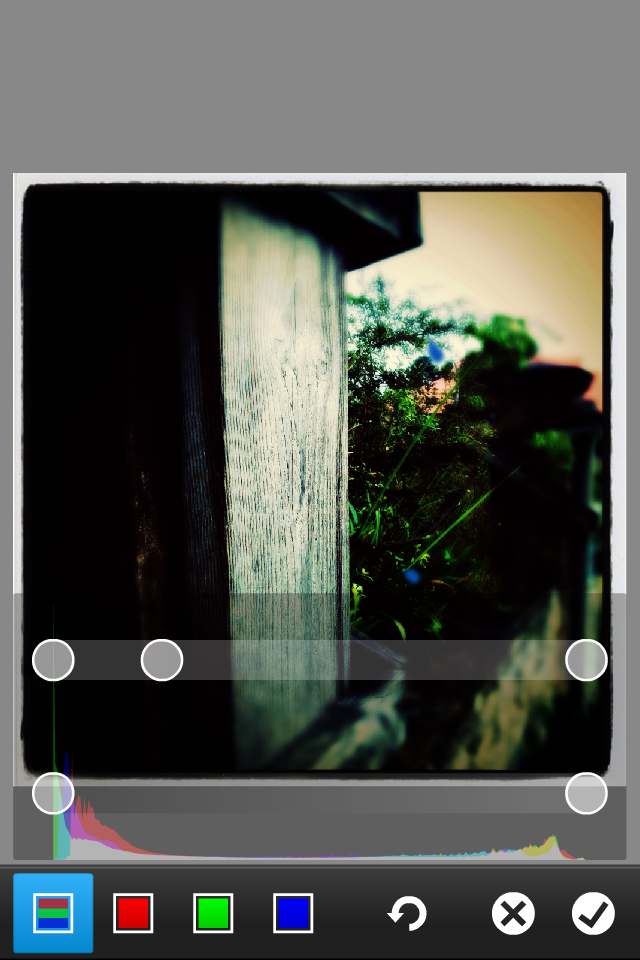
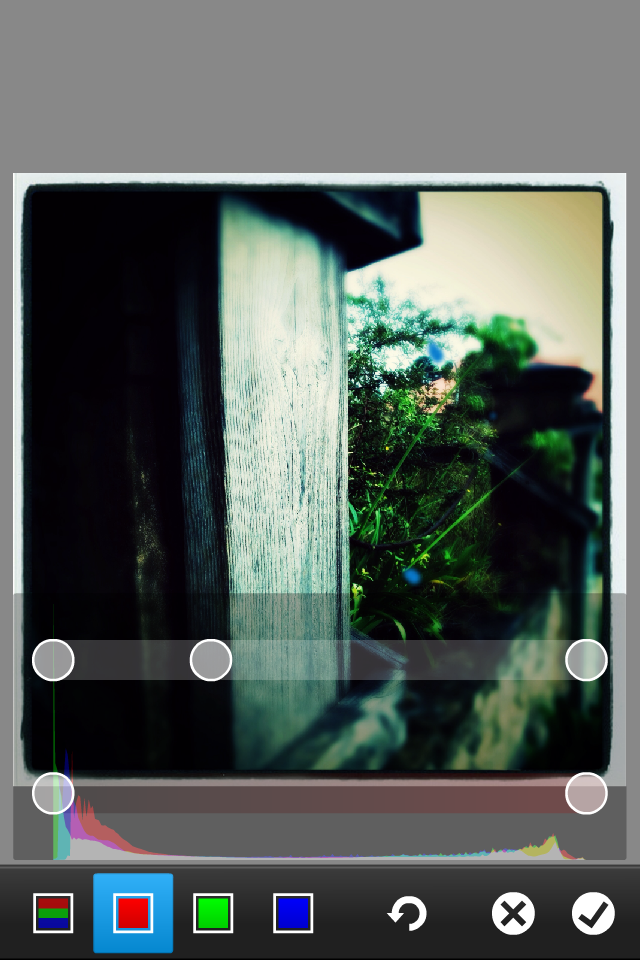

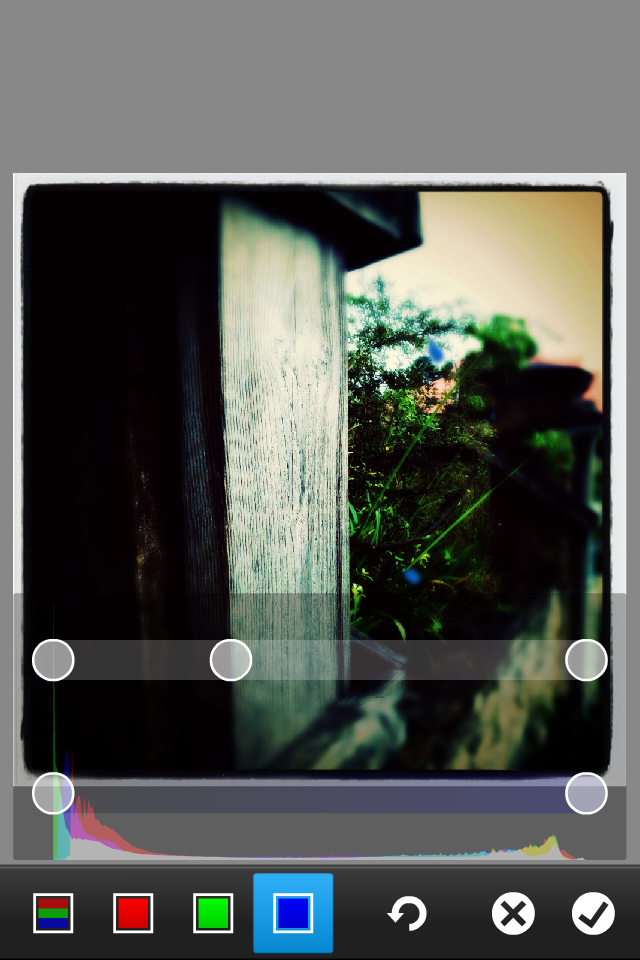
Image after Levels adjustment
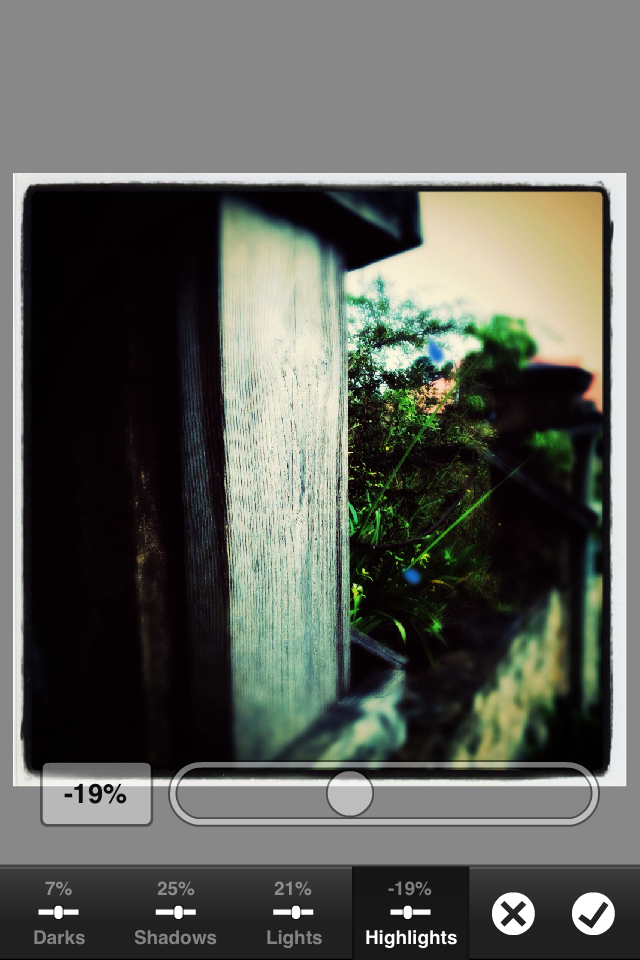
The next series demonstrate the simplicity of Shadow / Highlight adjustments. These adjustments are incremental for Dark/ Light and Shadows / Highlights


The next series are ‘Colour Balance’


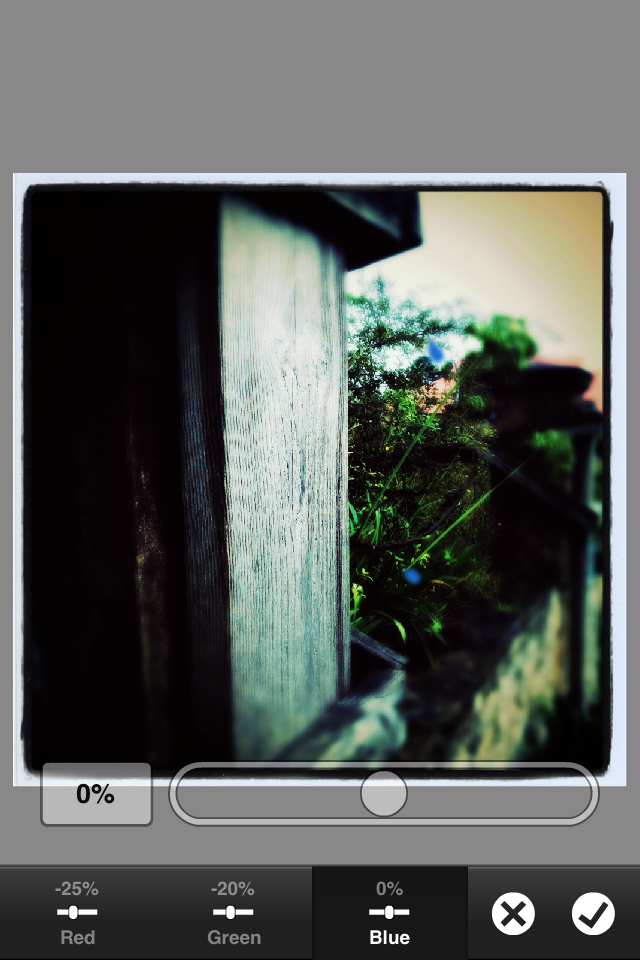
Would have been helpful if I had made an adjustment on the Blue channel 🙂
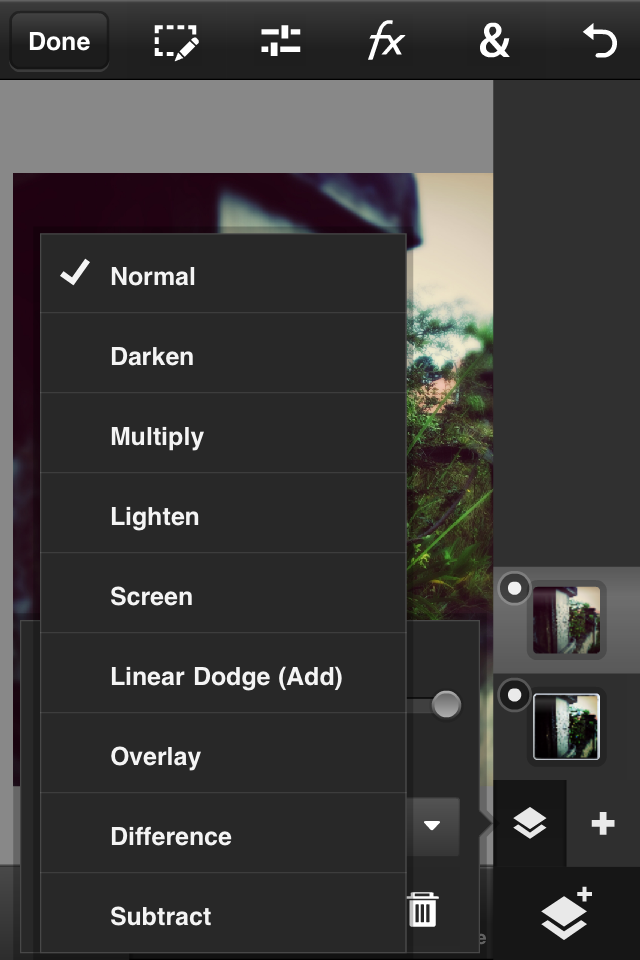
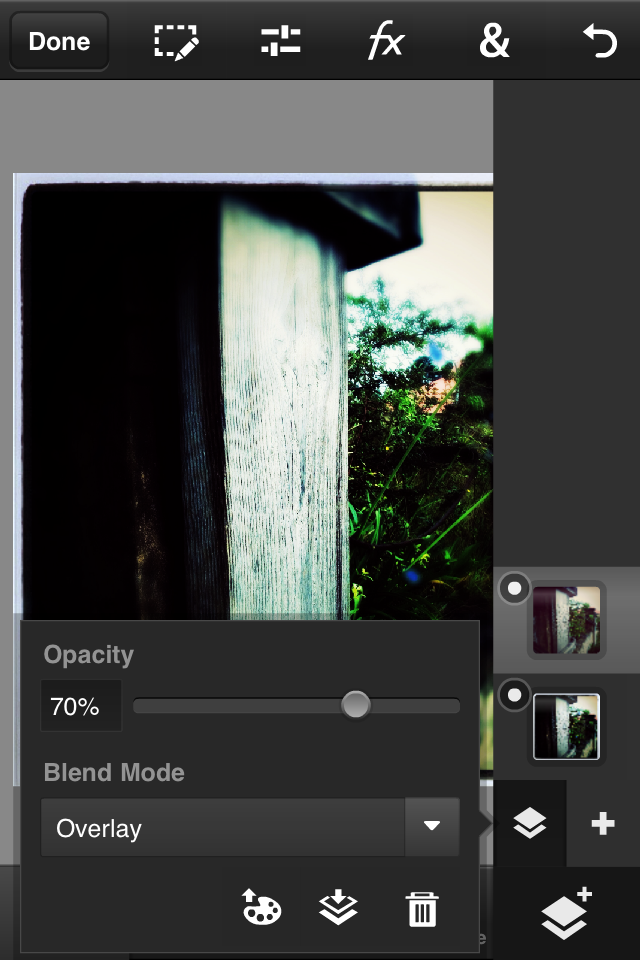
And more or less last but not least some quick layering. In this instance simply adding the original image over the adjusted one and applying a layer mode.
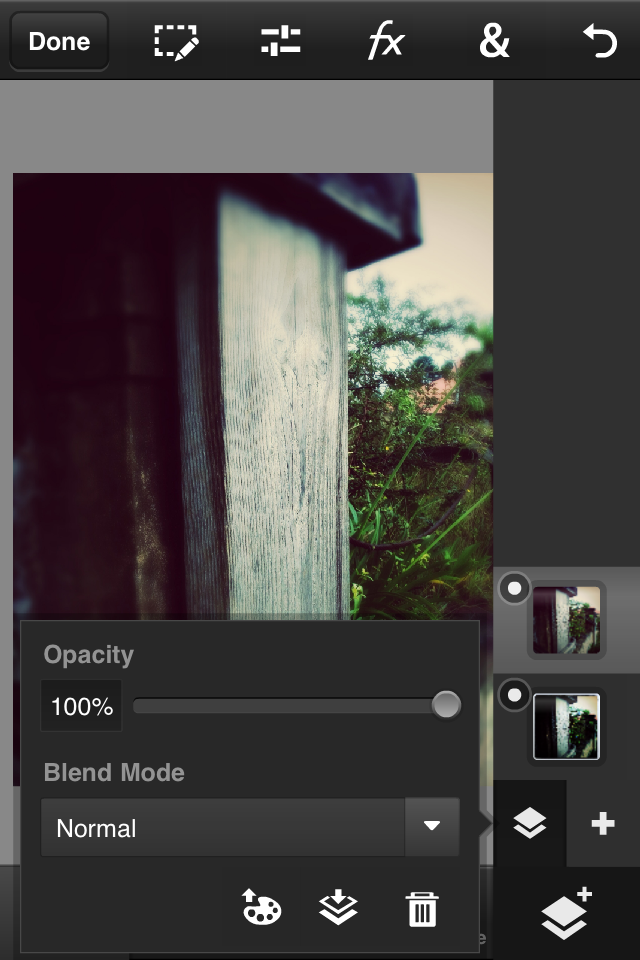
On the bottom panel in the image above you can see icons for ‘Colour Matching’ ‘Flattening layers’ and Trash.
Of course there’s so much more that you can do and at some ridiculously cheap price you have a wealth of functionality at your disposal.

One thought